Best Practices To ‘Celebrate’ National Change Your Password Day: How Does Your Password Stack Up?
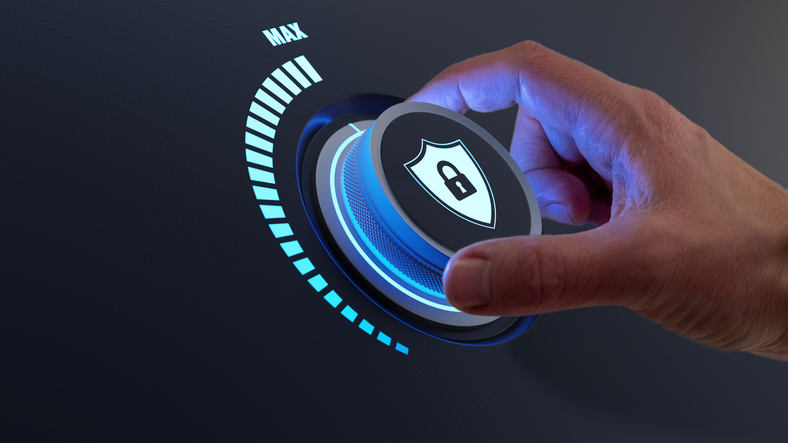
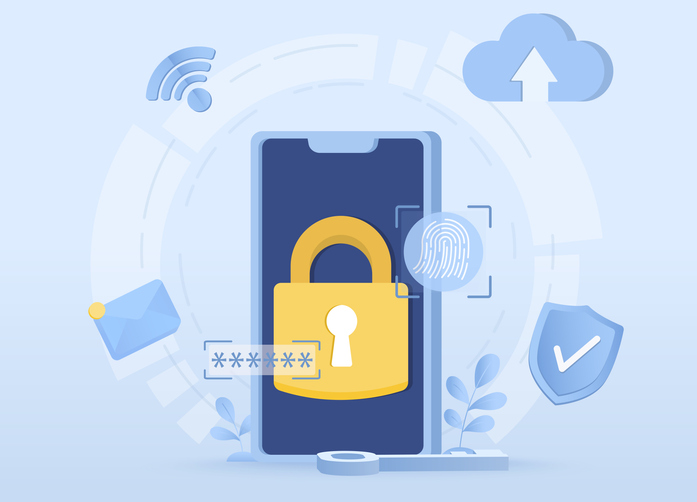
Each year on February 1st, we celebrate Change Your Password Day. While it’s not a holiday that gets you off work, it serves as a good opportunity each year to do a quick check-in and make sure you’re using strong passwords that will keep your accounts protected. The suggested ‘rule’ used to be to change your password every three months. With advanced tools like password managers and data encryption, experts now say the type of password you use is more important than how often you create a new one. We’re sharing up-to-date advice on how to create a strong password that will keep your account secure and hackers guessing. Make It Complex Aim for complexity by combining uppercase and lowercase letters, numbers and special characters. Avoid easily guessable information like birthdays, names or common words. The more intricate and unique your password, the harder it is for hackers to crack it. Longer Passwords Are Harder To Crack Long passwords provide an added layer of security. According to Hive Systems, brute-force hacking can crack an eight-character password in less than one hour! When creating a new password, aim for a minimum of 12 characters, and consider using passphrases—sequences of random words or a sentence—which can be both strong and easier to remember. A random passphrase would be something like: cogwheel-rosy-cathouse-jailbreak. This passphrase was generated from the website useapassphrase.com, which will auto-create a four-word passphrase for you if you’re stumped. Use Unique Passwords For Each Account Resisting the temptation to reuse passwords across multiple accounts is crucial. If one account is compromised, having unique passwords for other accounts ensures that the damage is contained. Consider using a reputable password manager to help you generate and store complex passwords securely. *Do NOT use Google or your browser’s password manager. If your Google account is compromised, all of your passwords will be too. Talk with your IT team about what password management tool they recommend for you and your organization. Update Passwords Yearly As long as your account hasn’t been compromised, you only need to change your passwords once a year to minimize the risk of unauthorized access. The only time a regular password change routine would be exceptionally helpful is if someone has access that you don’t know about. A frequent password change can make it more challenging for attackers to maintain access to your accounts over an extended period of time. Engage Multi-Factor Authentication (MFA) Implementing multi-factor authentication is another easy way to make your password bulletproof. MFA typically involves combining something you know (your password) with something you have (like a code sent to your phone). Even if your password is compromised, MFA significantly reduces the chances of unauthorized access. Set Up Strong Password Recovery Alternatives Leverage password recovery options like security questions or alternative e-mail addresses. It’s important to choose questions with answers that are not easily guessable or have publicly available information so “What’s your mother’s maiden name” is out! Use Password Managers You don’t have to try and remember every password, and you shouldn’t write them down on a sticky note on your desk. Instead, use a good password management tool that is secure and will handle keeping track of your passwords for you. Bonus points for turning off the auto-fill feature. Hackers can infiltrate sites and install a little bit of code on a page that creates a second, invisible password box. When your password manager autofills the login box, it will also fill in the invisible box, giving hackers your password. This isn’t overly common, but it still poses a risk. Regularly Review Account Activity Monitor your account activity for any suspicious logins or activities. Many online platforms offer features that notify you of login attempts from unfamiliar devices, allowing you to take swift action in the event of unauthorized access. It’s also always good to be aware of phishing attempts, never click suspicious links or attachments in e-mails, avoid public Wi-Fi and only use secure connections and educate and train your team on what to look for when it comes to cybercrime so they can protect themselves, you and the company. As cyber threats continue to evolve, mastering the fundamentals of cybersecurity, like creating strong passwords, becomes paramount. By making informed choices and staying proactive, you can significantly enhance your online security. However, as the leader of your organization, it’s important to remember that nothing is foolproof. Educating your team on cybersecurity best practices is essential, but mistakes can and will still happen. For most, it’s not a matter of if, but when. You must have a robust cybersecurity plan in place. The right IT team will make sure you have every protection in place to keep you safe and a crisis management plan ready if something goes wrong. To find out what gaps you have in your cybersecurity system, we’ll do a FREE Cybersecurity Risk Assessment. Click here to book yours now.